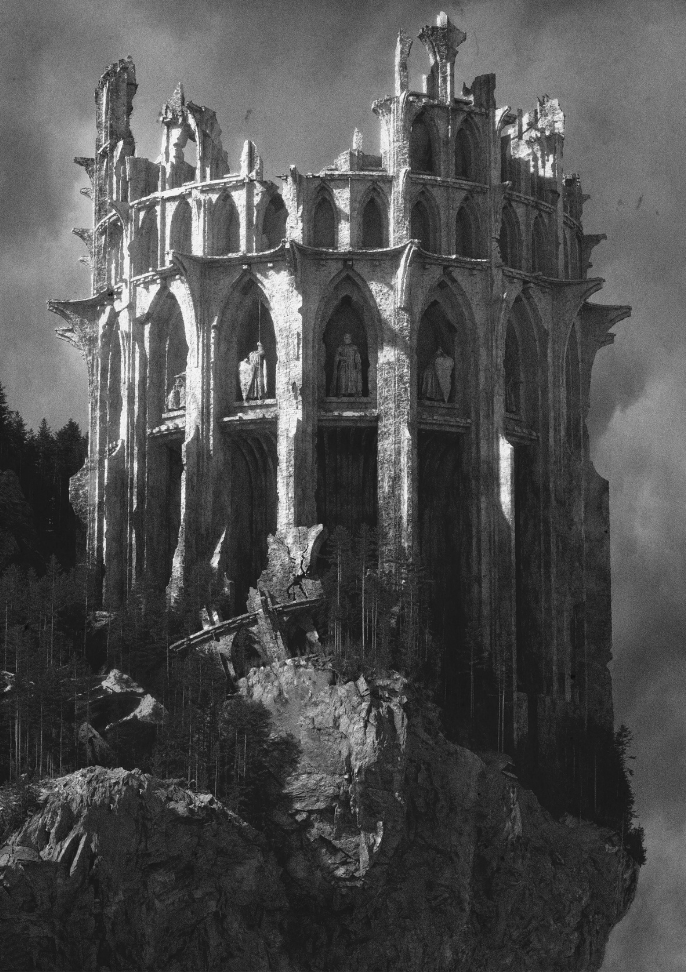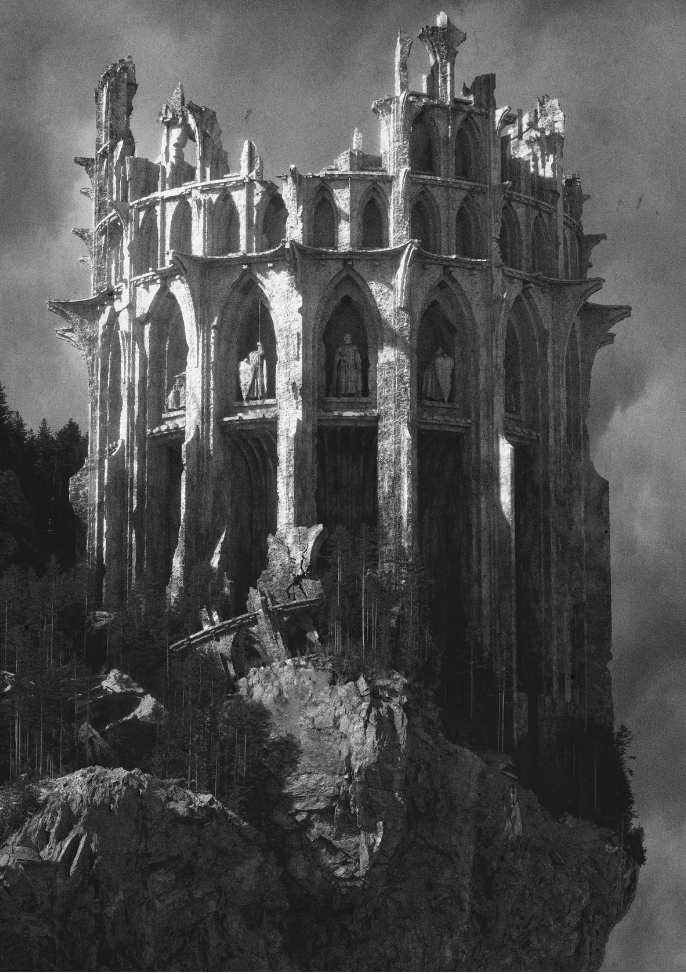
01 · Idea · Moodboard · Blockout
Worlds With a Story
Turn a vague idea into a clear plan. Build moodboards and thumbnails, refine a sketch, then set a camera and block in a composition that works before any detail exists.
SPECIAL INSTALLMENTS OFFER
DAYS
HOURS
MINS
SECS

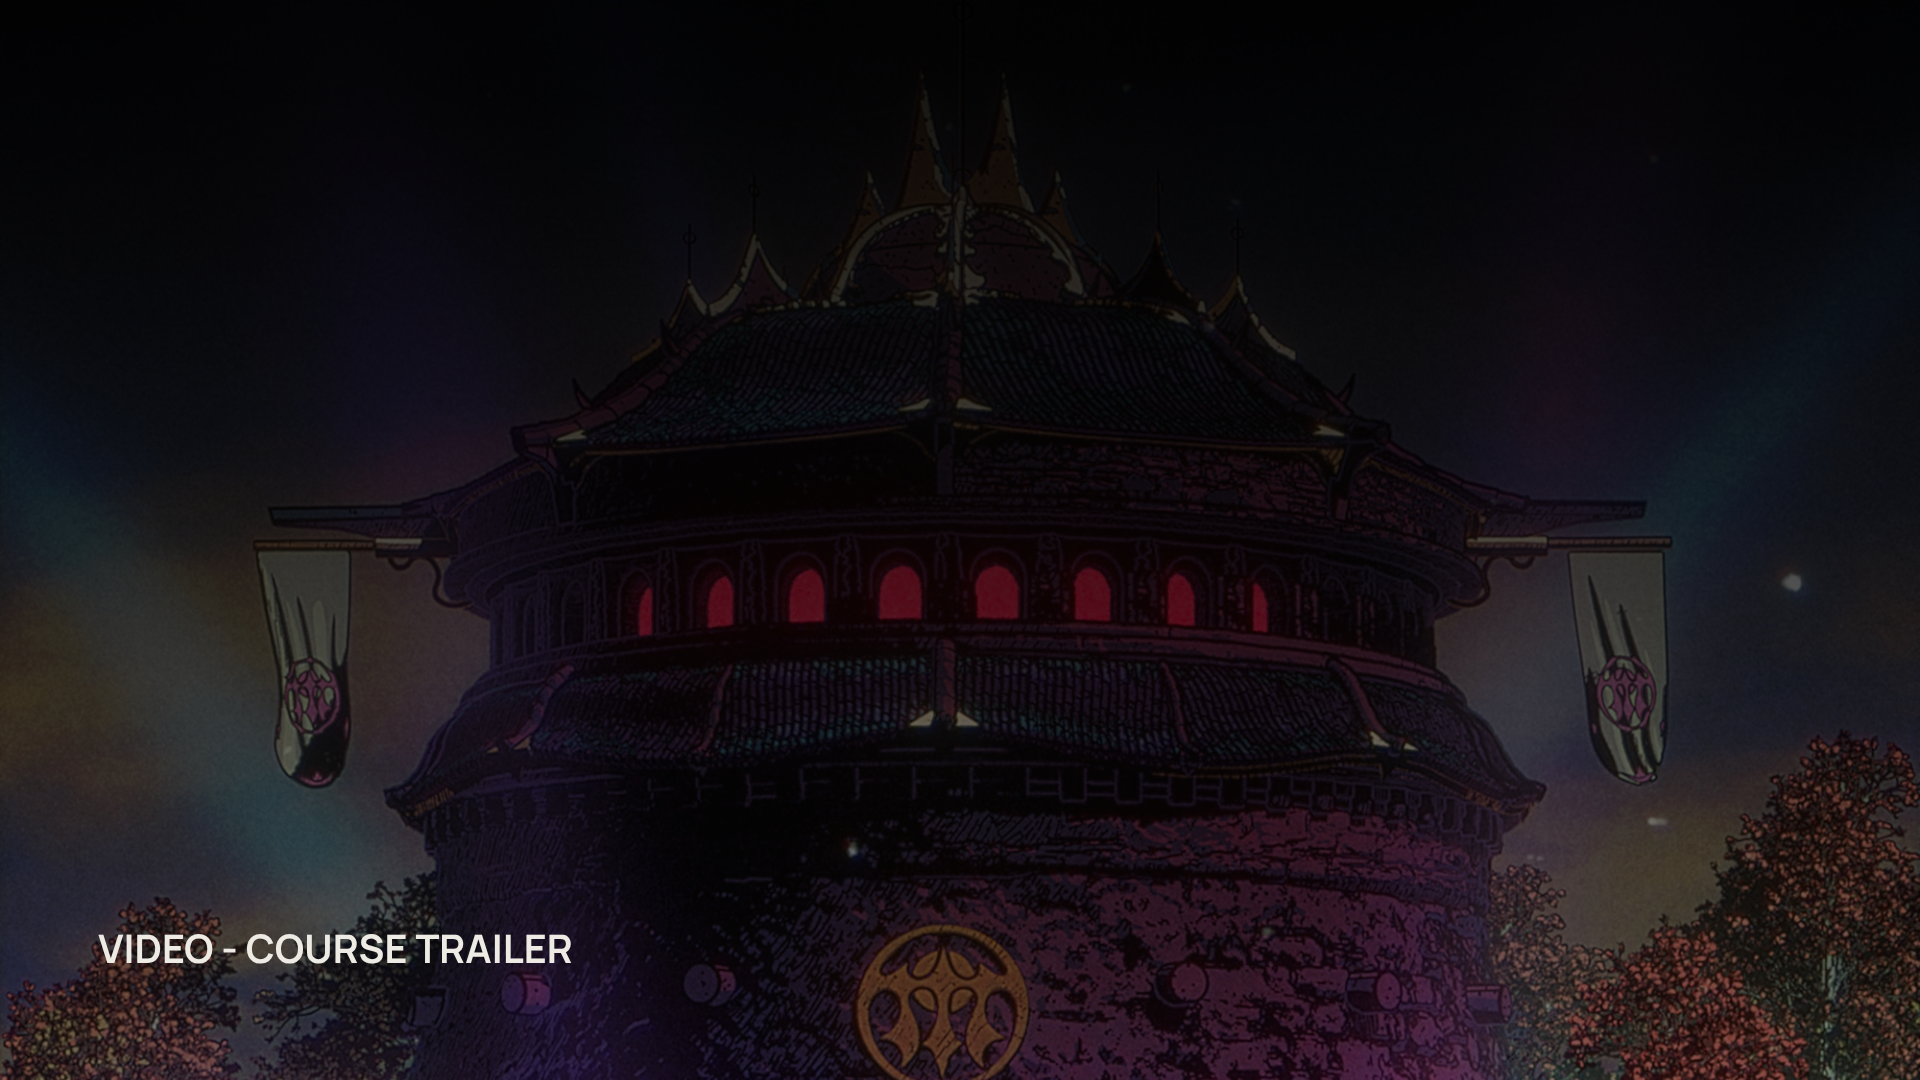
Sound familiar?
A scene is composition, light and story.
Not a folder of models.
You've modeled a rock. Maybe a tree, maybe a tower. It sits alone in a grey viewport, and it looks fine, but it doesn’t look like anything yet.
You look at stylized environment art from animated films and think: I would love to make that. But between a blank scene and a finished illustrated world there are a hundred decisions. Where the camera goes. How the terrain reads. Why everything looks plastic when you want it to look painted.
You don’t need a studio pipeline to build a world. You need a clear process, from the first thumbnail to the final composite.
In Fantasy Landscapes: Creating 3D Worlds, I take you through one complete scene. We start with an idea and a moodboard, block it in, sculpt it, give it my stylized toon shader look, and finish it like an illustration.
By the end, you won’t just have another asset. You'll have a world.
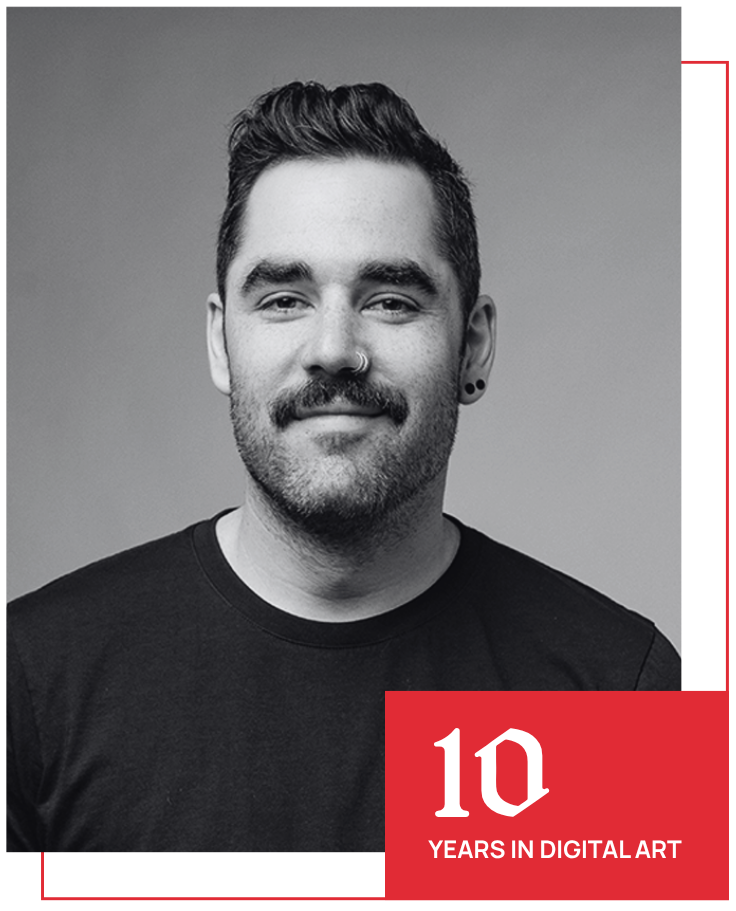
@calder_moore · 3D/2D artist · Canada
I'm a 3D and 2D artist, and I've spent the last ten years working in the digital art industry, making work for clients like Wizards of the Coast, Google and the Royal Canadian Mint.
Most of my personal work is built in Cinema 4D and Arnold around custom toon and stylized shaders. It's how I make 3D scenes that read like illustrations: flat colour, visible linework, warm glowing light. It's also the technique people ask me about most.
In this course, I'll build one full fantasy scene alongside you and show you every decision I make, so you can make your own.
Clients include
The real cost of guessing
Staying stuck doesn’t look dramatic. It looks like a hard drive full of half-finished files.
01
Scenes that never get past grey shapes, because there’s no plan for what comes after the camera is set.
02
Default materials make everything read as CG. The painted, illustrated quality you’re chasing never shows up in the render.
03
A rock tutorial here, a lighting trick there. Fragments that never connect into one finished world you’re proud to share.
What you'll unlock
Each skill builds on the last, the same way a scene grows from rough idea to finished image.
01 · Idea · Moodboard · Blockout
Turn a vague idea into a clear plan. Build moodboards and thumbnails, refine a sketch, then set a camera and block in a composition that works before any detail exists.
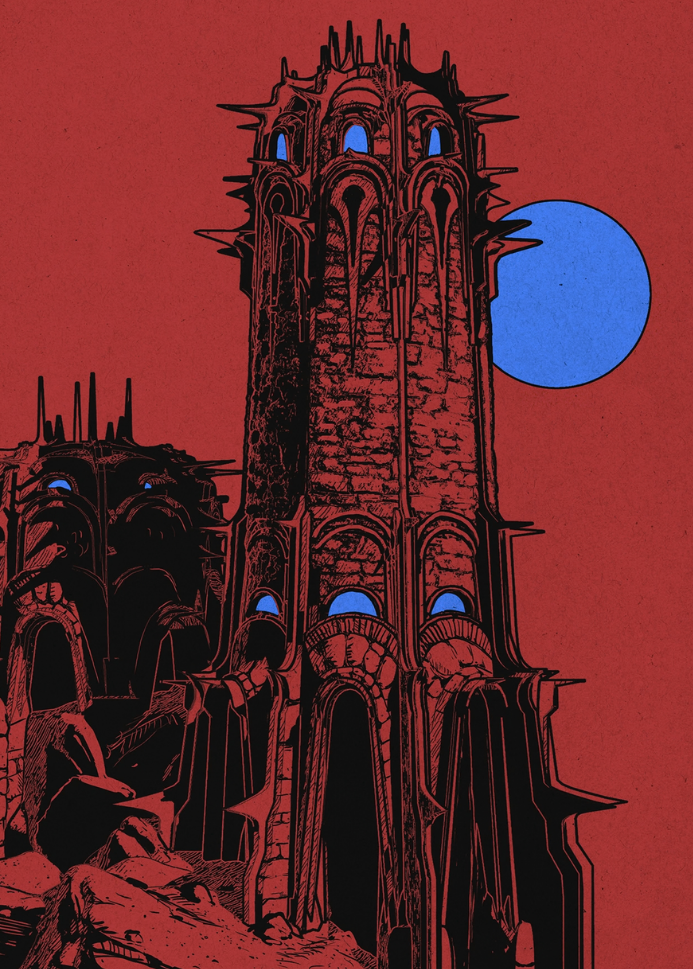
02 · Materials · Linework · Grime
Build a stylized toon shader from scratch. Control line colours, add dots and grime, and surface terrain, rocks and foliage so the render reads as painted, not plastic.
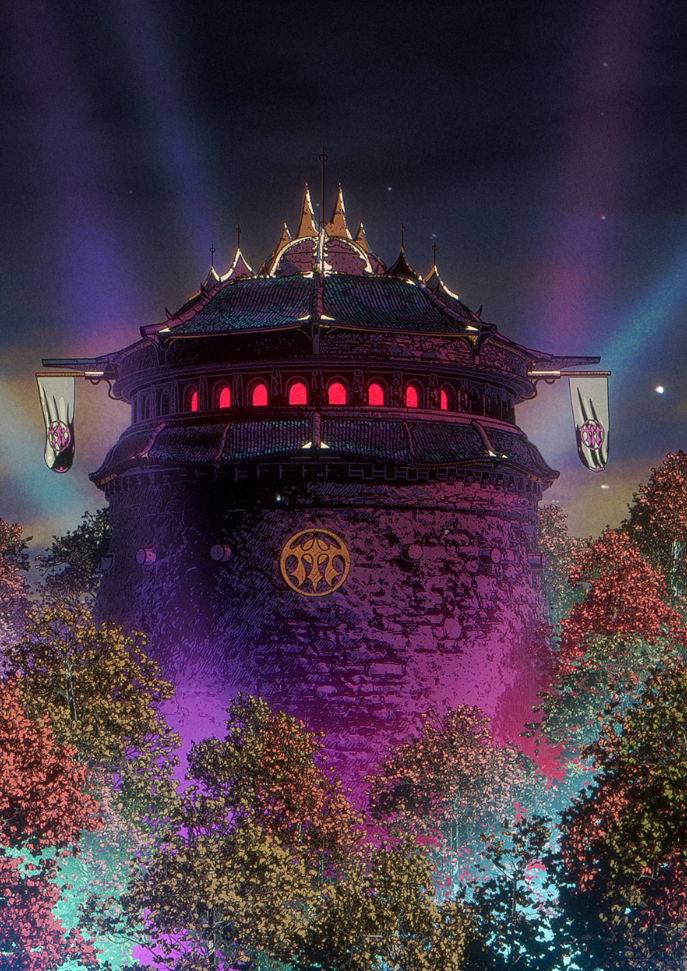
03 · Passes · Paintover · Post
Render out passes, paint over them in Photoshop, age the scene with texture and bring it together into one warm, glowing, finished image.
COURSE CONTENT
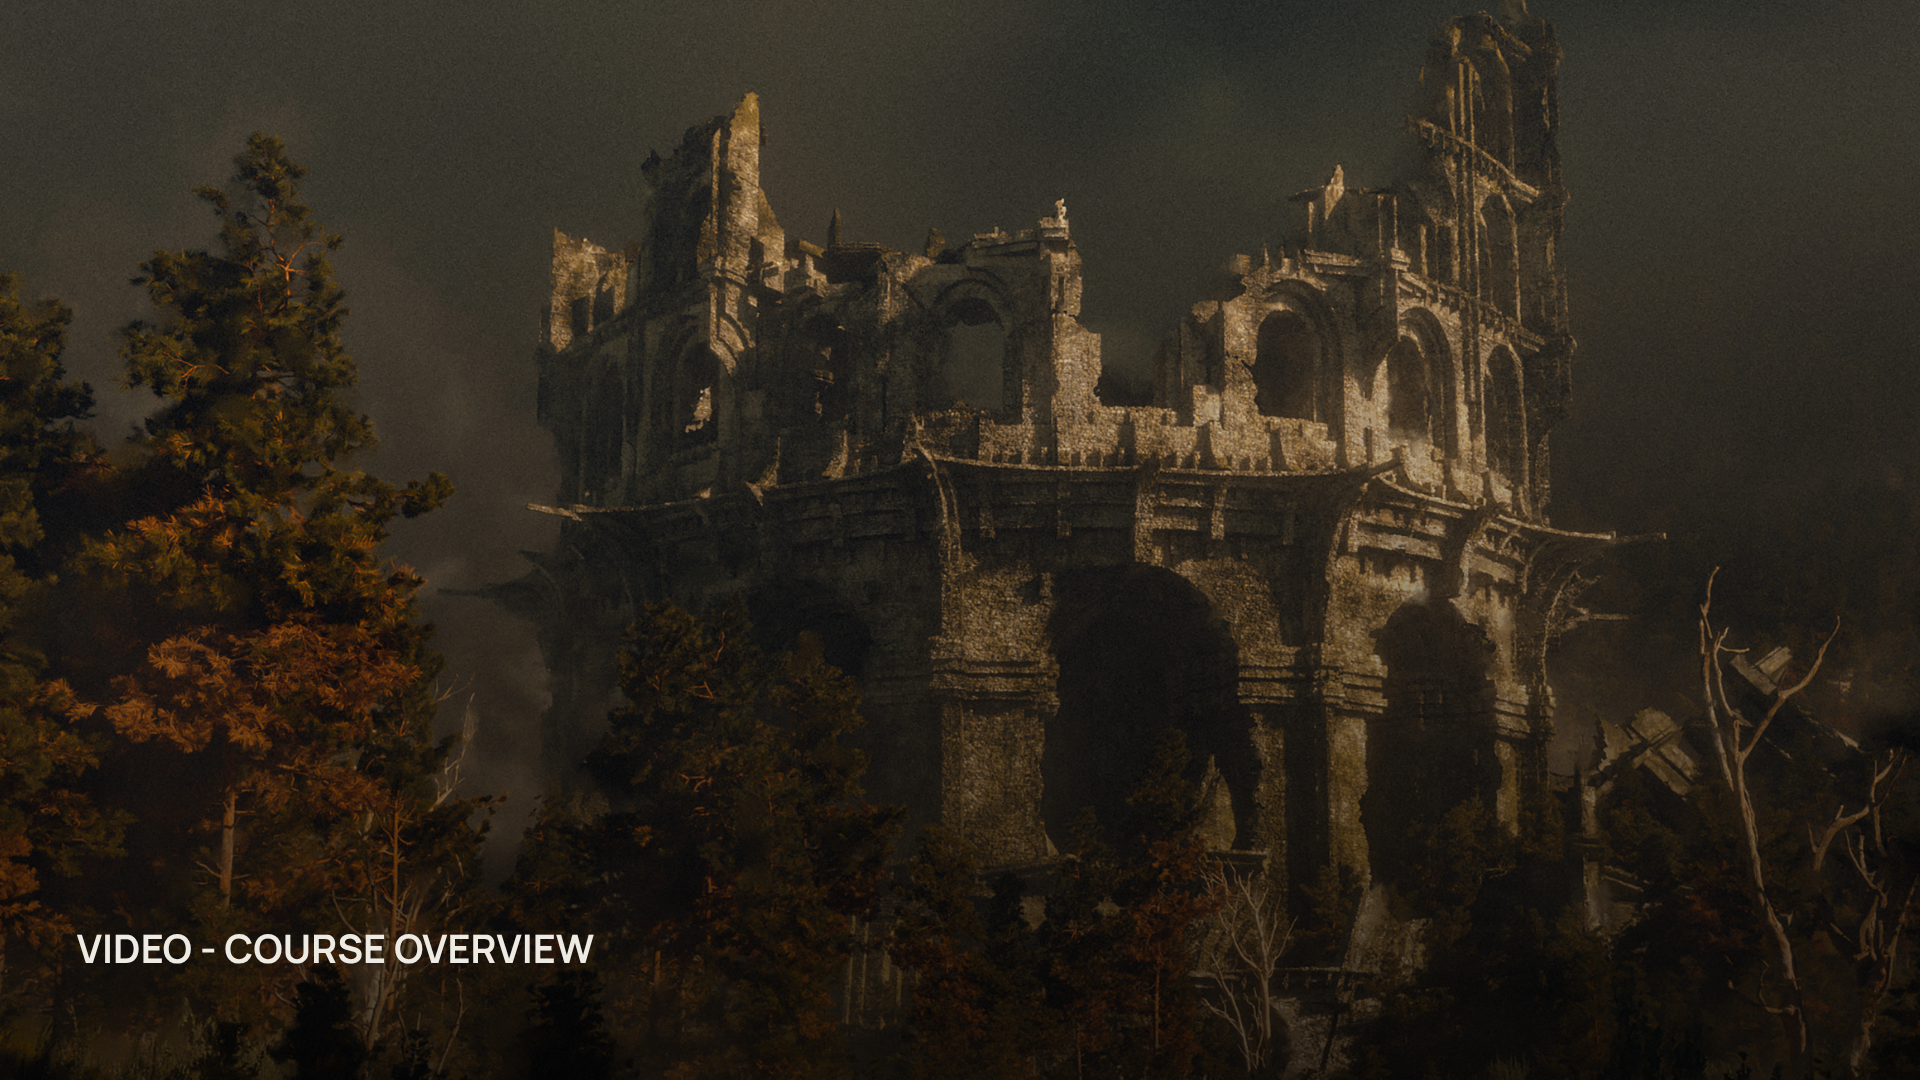
A beginner-friendly course that follows one fantasy environment through every stage of production.
You'll start with moodboards, thumbnails and a refined sketch. Then you'll block in the camera and scene, sculpt terrain, rocks, trees and ruins, and build the stylized toon shader that gives Calder's work its hand-painted feel.
From there you'll dress the scene with scatter systems, surface the tower, render out passes and composite the final image in Photoshop. A bonus module shows you how to give it a retro anime finish in After Effects.
START BUILDING →The curriculum
Every module moves the same scene forward. Here is exactly what you’ll learn, and when.
Modules 01 to 03
01
What to expect from the course, and how to carry each step into your own future pieces.
02
Collect reference, build a moodboard and sketch thumbnails, then refine one sketch into an asset checklist and a game plan.
03
Establish your camera and block in the whole scene, so the composition works before any detail exists.
Modules 04 to 06
04
Sculpt with noise and sculpt tools: background terrain, big and small rocks, trees, bushes, grasses and ruins.
05
Build the toon shader, invert line colours, add dots and grime, then surface the ground, rocks and foliage.
06
Set dressing and scatter systems that make the world feel lived in, without hand-placing every stone.
Modules 07 to 09
07
Add stone details and surface the ruins with a displacement shader, so the hero structure holds up close.
08
Render out passes, paint over the render in Photoshop, add textures to age the scene and finalize the image.
09
Post effects and depth in Photoshop, plus a two-part After Effects workflow for a retro anime look.
A complete, rendered and composited fantasy environment that you designed yourself, ready to share.
The same idea-to-final pipeline works for your next castle, forest or floating island.
A toon shader setup you built and understand, so you can push it toward a look of your own.
No more staring at an empty viewport. You'll know what to do first, second and last.
Exercises and material checkpoints at every stage, from moodboard to final PSD, so progress stays visible.
Lessons you can pause, rewatch and return to while your scene evolves.
COURSE STRUCTURE
Taught in Cinema 4D with Arnold, finished in Photoshop and After Effects.
Every lesson moves your own scene one step closer to done.
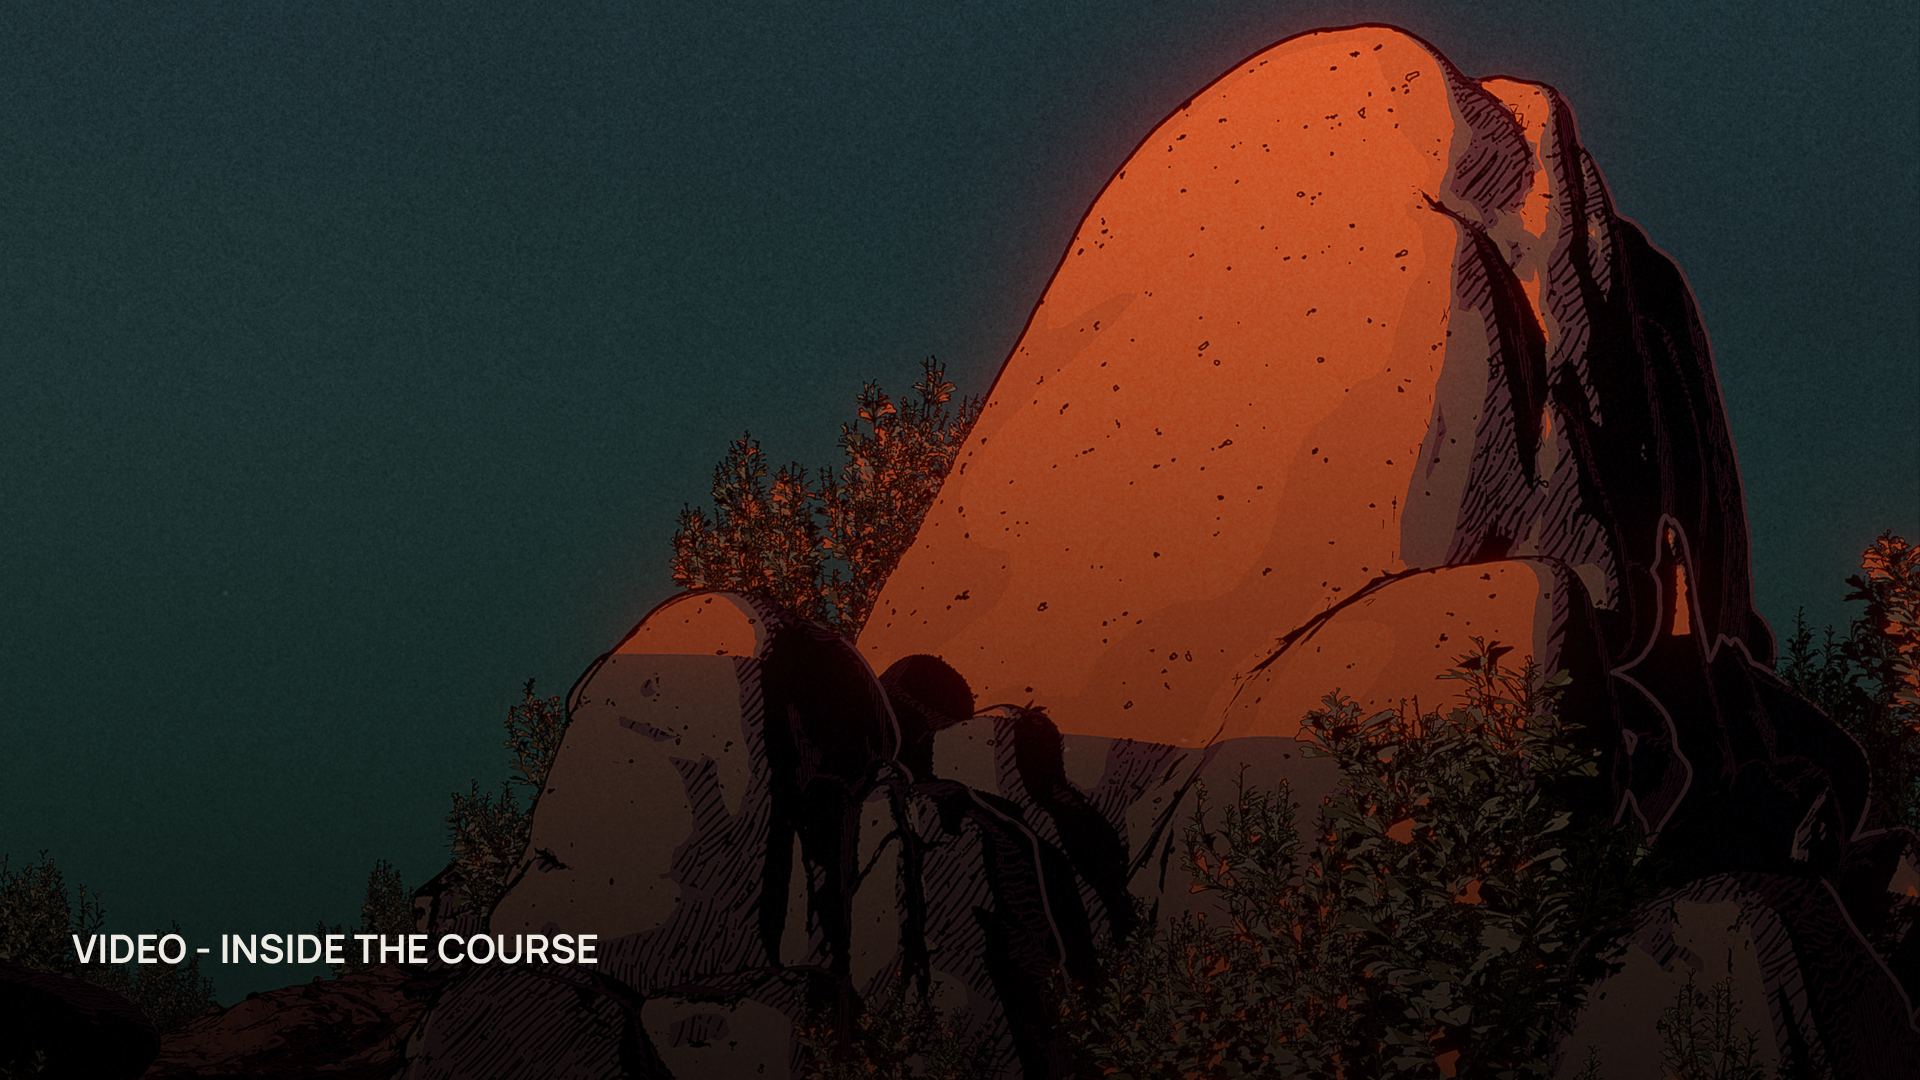
Step 01
Pre-recorded, step-by-step video lessons that follow one scene from blank viewport to final image. Pause, rewatch and revisit anytime.
Step 02
Modules close with an exercise, so you apply each technique to your own scene before moving on to the next stage.
Step 03
Your materials grow with you: a moodboard, a blockout, a shader setup and, by the end, a layered PSD of your finished art.
Included free with the course
Once your scene is finished, these lessons take it one step further, and into a new style.
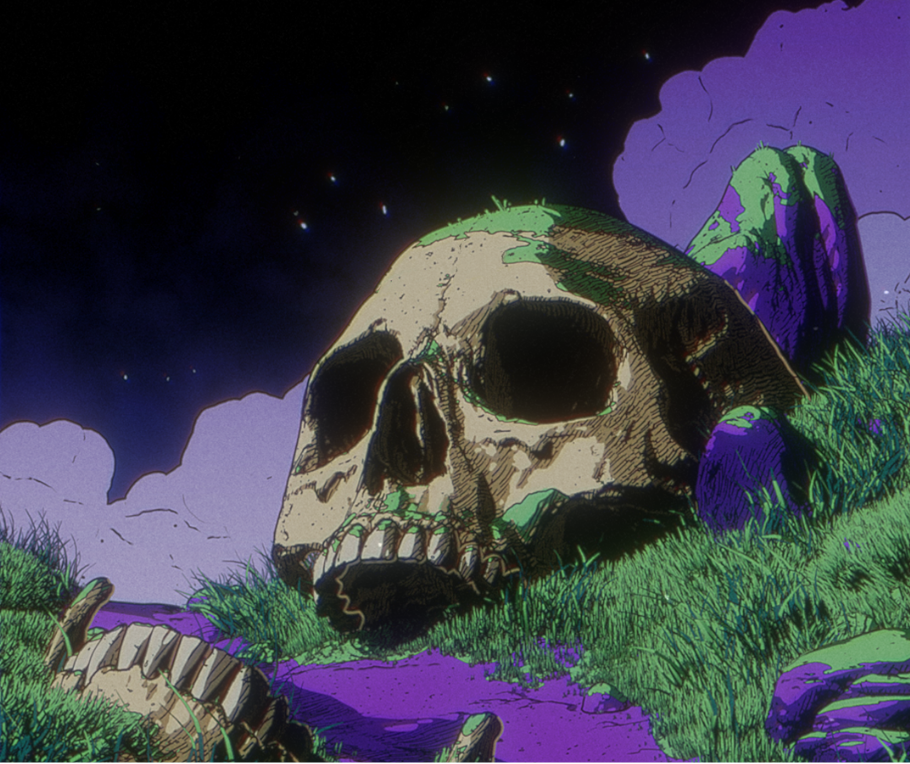
Bonus 01
A two-part post workflow that gives your finished scene the soft glow, grain and colour of a retro anime frame.
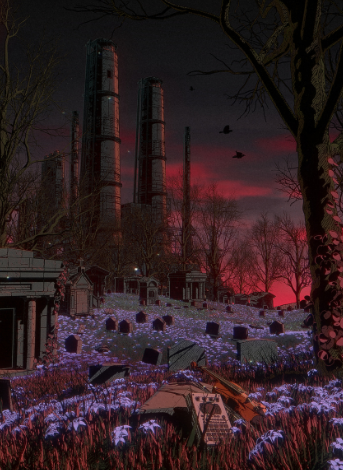
Bonus 02
Layer atmosphere and depth into your render with post effects in Photoshop.
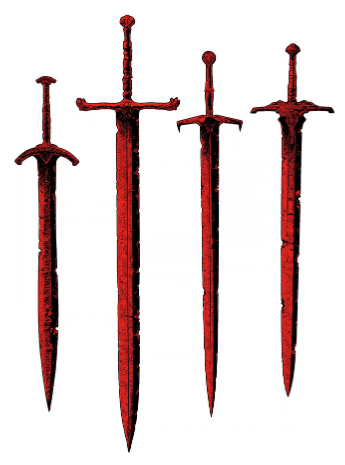
Bonus 03
Push your toon shaders into one or two completely new styles and apply them to the scene you already built.
Build your first stylized fantasy world in 3D, from the first sketch to the final render.
DAYS
HOURS
MINS
SECS
GET IMMEDIATE ACCESS TO
CREATING 3D WORLDS
If you want to join now and split the cost of the course, you can join through six monthly payments. The course content is exactly the same, this simply allows you to spread the investment over time in a way that feels more comfortable for you.
The price displayed below is in US Dollars, but you can pay with ANY currency.

If the course isn't right for you for any reason, you can request a full refund within the first 14 days. There's no risk in giving it a try and experiencing the process first-hand.
No. All lessons are pre-recorded, so you can start when you are ready and learn at your own pace.
Yes. The course is beginner-friendly, so you don’t need to be an advanced 3D artist to follow along. I’ll take you through the process from the first idea and thumbnail sketches all the way to the finished scene.
The scene is built in Cinema 4D with Arnold, and we use Photoshop for the paintover and post effects. The retro anime bonus uses After Effects.
Yes. As soon as you enroll, you get instant access to the whole course, whichever payment option you choose.
Forever. Enrolling gives you lifetime access, so you can revisit the lessons as many times as you want, on any device.
You can pay with a debit card, credit card, PayPal, Google Pay or Apple Pay. Whatever works best for you.
No, this is a monthly payments option, consisting of 6 monthly payments. Your first payment will be charged at the time of purchase. The second payment will be charged after 30 days, the third after 60 days, the fourth after 90 days, the fifth after 120 days, the sixth after 150 days. You will receive full access to the course immediately. .
Yes. Prices are shown in US Dollars, and you can complete your purchase in any currency.
Yes. Every enrollment comes with a 14-day money-back guarantee. If the course isn’t the right fit, just let me know within 14 days and I’ll refund your purchase in full.
No, enrollment will be closed indefinitely. You have to enroll by Tuesday, November 10th at 9 PM MDT. Don't miss out on this opportunity!

Get started today before this once in a lifetime opportunity expires.