00
DAYS
00
HOURS
00
MINS
00
SECS
“Printmakers are born,
not made.”
That's a myth.
Maybe you think the people who carve beautiful prints were simply born able to.
Maybe you imagine they pick up a gouge and it just works, first time, every time.
Maybe you've already decided, quietly, that you're not the artistic one.
Carving is a skill, not magic. What you admire in other people's prints is practice, patience, and noticing the shapes that were always there.
You don't need to be a natural. You need a block, three tools, and somebody sitting beside you for the first one.
Hi! I'm David Morrison

I’m a contemporary realist artist and printmaker based in Indianapolis, Indiana. Born in Council Bluffs, Iowa in 1956, I received my MFA in Printmaking from the University of Wisconsin-Madison and later became Professor Emeritus at Indiana University’s Herron School of Art and Design.
My work centers around hyperrealistic drawings of tree branches, trunks, buds, and berries - exploring both the beauty and fragility of nature. I’m fascinated by the cycles of growth, decay, disease and regeneration found in the natural world, and I aim to capture these moments with honesty rather than idealized perfection.
Through close observation and intense detail, my drawings isolate natural forms against white space, allowing viewers to slow down and reexamine the quiet complexity of nature.
Now, I’m sharing my process in Foundations and Mastery in Colored Pencil, a course designed to help you build strong technical foundations, sharpen your observation skills, and create detailed and realistic drawings.
WHAT MY COMMUNITY SAYS
Maria
Lorem ipsum dolor sit amet, metus at rhoncus dapibus, habitasse vitae cubilia.
Maria
Lorem ipsum dolor sit amet, metus at rhoncus dapibus, habitasse vitae cubilia.
Maria
Lorem ipsum dolor sit amet, metus at rhoncus dapibus, habitasse vitae cubilia.
Maria
Lorem ipsum dolor sit amet, metus at rhoncus dapibus, habitasse vitae cubilia.
Overcoming the blank block
You sit down with a block and start cutting, without the wince.
You stop comparing your lines to anyone else's, because yours are the point.
You peel back the paper and there it is: the print, in your hands, made by you.
I'll be with you the whole way. Tools, technique, and the gentle mindset that keeps you cutting.
What you'll unlock through the course.
Cut confidently
You'll hold the tools safely, understand cutting direction, and build a vocabulary of marks you can actually control.
See in black and white
Positive and negative space stop being theory. You'll translate a drawing into a print-ready design without guessing.
Print two colours
By module six you'll cut a block into jigsaw pieces, ink them separately, and register both colours by hand.
COURSE CONTENT.
The course is divided into 8 carefully structured modules with over 6 hours of comprehensive instruction, thoughtfully designed to help you build confidence through a clear, systematic approach. You will gain lifetime access to in-depth video lessons that you can pause, revisit, and study at your own pace as you develop your observation, drawing, and colored pencil skills.
This course is designed for artists of all levels who want to build a solid foundation in realistic colored pencil drawing. Each module builds naturally on the previous one, beginning with materials, observation, and foundational exercises before progressing into composition, color theory, layering, light, texture, and a complete demonstration drawing from start to finish.
With every lesson, your understanding and confidence will continue to grow. Techniques that once seemed difficult will become part of a clear and repeatable process. By the end of the course, you will have the knowledge and skills to create realistic colored pencil drawings with greater accuracy, depth, and confidence while developing an approach you can apply to every future artwork.
In my course you will learn.
Open any module to see every lesson inside it.
01 Introduction +
What linocut is, who I am, and how the course runs.
- Welcome & what is linocut
- Who am I?
- Course overview
- What is linocut?
02 Getting started +
Every material and tool compared, so you buy once and buy right.
- Lino and block materials compared
- Cutting tools: gouges, V-tools, U-tools and handles
- Inks: water-based vs oil-based, and when to use each
- Papers for printmaking: types, weight and texture
- Brayers, barens and the rest of your kit
- Troubleshooting
03 Mark-making & cutting techniques +
Holding tools safely, then building a vocabulary of marks.
- Holding tools safely and understanding cutting direction
- The core marks: lines, dashes and dots
- Creating textures and tonal effects
- Carving curves, corners and fine detail
- Project: build a mark-making sampler block
- Reversing your image and handling text
- Editioning: printing consistent multiples
04 From drawing to block: design & transfer +
Thinking in black and white, then getting your drawing onto lino.
- Thinking in black and white
- Working with positive and negative space
- Translating your drawing into a print-ready design
- Transfer methods 1: tracing and carbon paper
- Transfer methods 2: toner/pencil transfer and drawing directly
05 Your first monochrome print +
Preparing, carving, inking and pulling a complete single-colour print.
- Preparing your block and finalising the design
- Carving your single-colour block
- Mixing and rolling out ink to the right consistency
- Inking the block evenly
- Basic registration for a single colour
- Pulling a print by hand with a baren
- Drying, cleanup and troubleshooting your prints
06 Two-colour jigsaw linocut +
The puzzle method. Two colours from one block, no registration jig.
- How the jigsaw (puzzle) method works
- Designing a two-colour image
- Cutting the block into jigsaw pieces
- Carving detail into each piece
- Inking pieces in separate colours
- Reassembling, registering and printing both colours
- Troubleshooting registration and colour overlap
07 Finishing, presenting & next steps +
Signing, storing and displaying, plus where to go after this course.
- Signing, titling and numbering your prints
- Flattening, storing and displaying prints
- Where to go next: reduction and multi-block printing
- Course recap and continuing your practice
- Certificate & feedback
08 Bonuses +
Four things to keep, print out and pin above your bench.
- Bonus 1: beginner templates and reference photos
- Bonus 2: troubleshooting reference guide
- Bonus 3: materials and tools checklist
- Bonus 4: certificate & feedback
Included in the course fee.
Six things, no asterisksFundamentals & materials
Every tool, ink and paper compared, so you buy once and buy right.
Practical exercises
A mark-making sampler, a monochrome print, a two-colour jigsaw. You make things, not notes.
Lifetime access
Yours to keep. Five minutes a day is a perfectly good pace.
Watch anywhere
Full HD video on any device, with adjustable speed. Bench, sofa or train.
A group of printmakers
A private community carving the same blocks as you, at the same time.
My feedback on your print
Send me one print and I'll write back properly. You are never doing this alone.
Course Structure.
Foundations and Mastery in Colored Pencil helps you develop real artistic skill through a clear, structured, and rewarding learning process. You will steadily build confidence as you learn to observe more accurately, understand light and color, create convincing textures, and develop realistic drawings using a systematic approach refined through more than 34 years of teaching.
All lessons are recorded in full HD and can be adjusted in speed, audio, and quality, allowing you to learn comfortably at your own pace. Each lesson includes detailed demonstrations, practical instruction, and a complete look at the colored pencil process, from selecting materials and creating the underdrawing to building layers and refining the final details.
The course is practical, comprehensive, and carefully structured. You will learn how to select the right materials, strengthen your observation skills, understand composition, master color theory, build rich layers, create realistic light and texture, and avoid common mistakes that slow artistic progress. With lifetime access, you can revisit every lesson whenever you need and continue refining your skills for years to come.
Bonuses
Extra content that you will get for free with the course!
Complete an additional grape drawing demonstration that helps you strengthen your layering, color transitions, and realistic rendering skills.
$49 FREE

Learn David's approach to photographing botanical subjects so you can capture clear reference images with beautiful lighting, natural detail, and consistent results.
$49 FREE
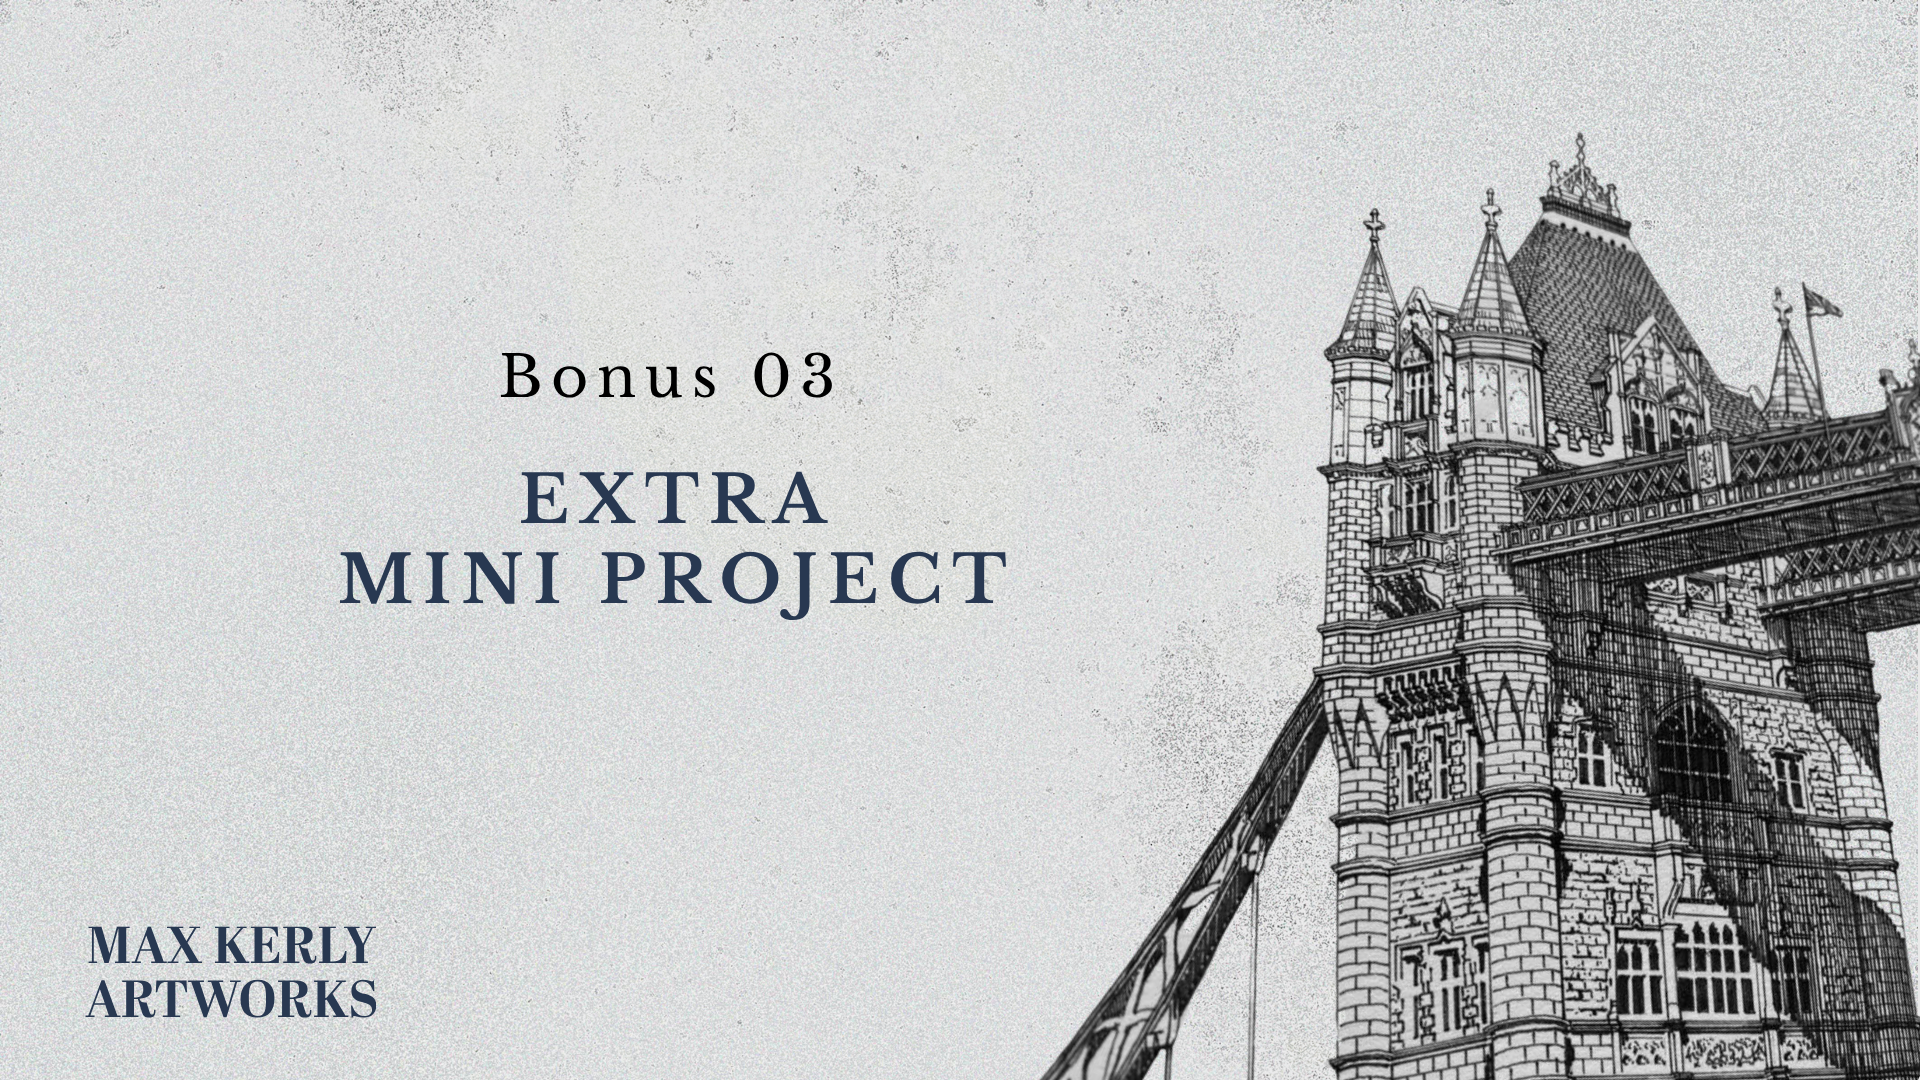
Discover how to use powdered pigment to create subtle tonal backgrounds that beautifully complement your finished colored pencil drawings.
$49 FREE
Registrations Are Closing Soon!
Learn the complete academic process for creating realistic colored pencil drawings with confidence.
00
DAYS
00
HOURS
00
MINS
00
SECS
GET IMMEDIATE ACCESS TO
Foundations and Mastery in
Colored Pencil
Here you will find two options that differ only in how you prefer to pay. The first option is a one time payment and the second option is a monthly plan with four payments. The price shown below is in USD, but you can complete your purchase using ANY currency.
Transform careful observation into realistic colored pencil drawings.
My Guarantee for You
If you are not satisfied with the course for any reason, you have the right to obtain a full refund within the first 14 days. This is my guarantee to you, I want all my students to be satisfied. Also, this means that there is no risk as well! Give it a try and experience the program first-hand!
Frequently asked questions .
+Is the course live?
This is a self-paced course. That means the content is made of pre-recorded videos you can watch whenever you want, at your own pace. Learning through an on-demand course, you can pause, practise each technique, and carve along at your own speed. And you can always return to your favourite lessons or revisit the trickiest techniques until you feel confident with them.
+I've never carved before. Is this really for me?
Yes, the course is built for absolute beginners. We start with tools, lino and cutting direction, then slowly layer in mark-making, transfer and colour. Every module has printable PDFs so you can practise at your own pace.
+How can I pay?
You can pay with any credit or debit card enabled for online payments. You can also pay with PayPal, Google Pay and Apple Pay.
You can choose either to pay all at once, one single payment, or to split the cost across instalments. With the one-time payment, you pay just once. If you select the instalment option, you will be billed the first payment at the moment of purchase. The second payment will be billed 30 days after, the third after 60 days, and the fourth and last one after 90 days.
+Can I pay with any currency?
Yes. The system will automatically convert your local currency into pounds sterling at the exchange rate of the day you purchase.
In both cases you will receive full access to the course immediately.
+How long do I have access?
Lifetime access. Come back whenever you need a refresher, and any future updates are yours free.
+What if I don't love it?
You have a full 14-day money-back guarantee. Try the first modules, and if it isn't for you, email me and I'll refund you, no awkwardness.
+How much time do I need per week?
Whatever you have. Lessons are short and focused, most under 20 minutes, so you can carve for 15 minutes before bed or spend a slow Sunday morning at the bench.
+Can I buy the course as a gift to someone?
Yes, absolutely. For this option, you need to choose the one-time payment. You will be able to set up a gift at checkout, with the possibility to send it on a specific day with a personalised message to the recipient.
+Are registrations opening again soon?
No, they will be closed indefinitely. You have to enrol by Sunday, 20th September at 9pm (BST). Don't miss out on this opportunity.