REGISTRATIONS CLOSE SOON

00

DAYS

00

HOURS

00

MINS

00

SECS

START LEARNING NOW
XX Hours   ∞ Lifetime Access

The Art of Storytelling:
From Sketch to Scene

With Jon Lam

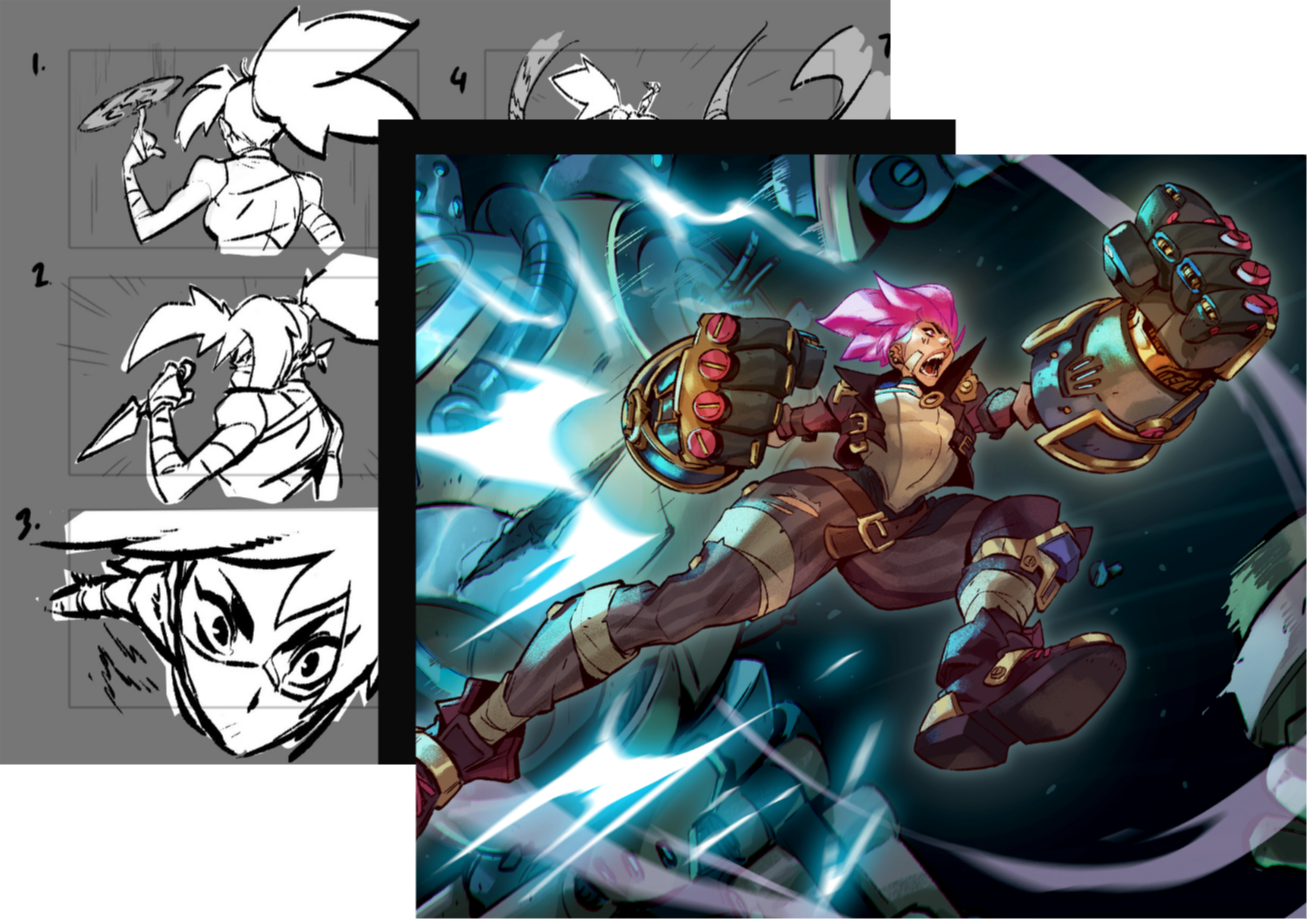
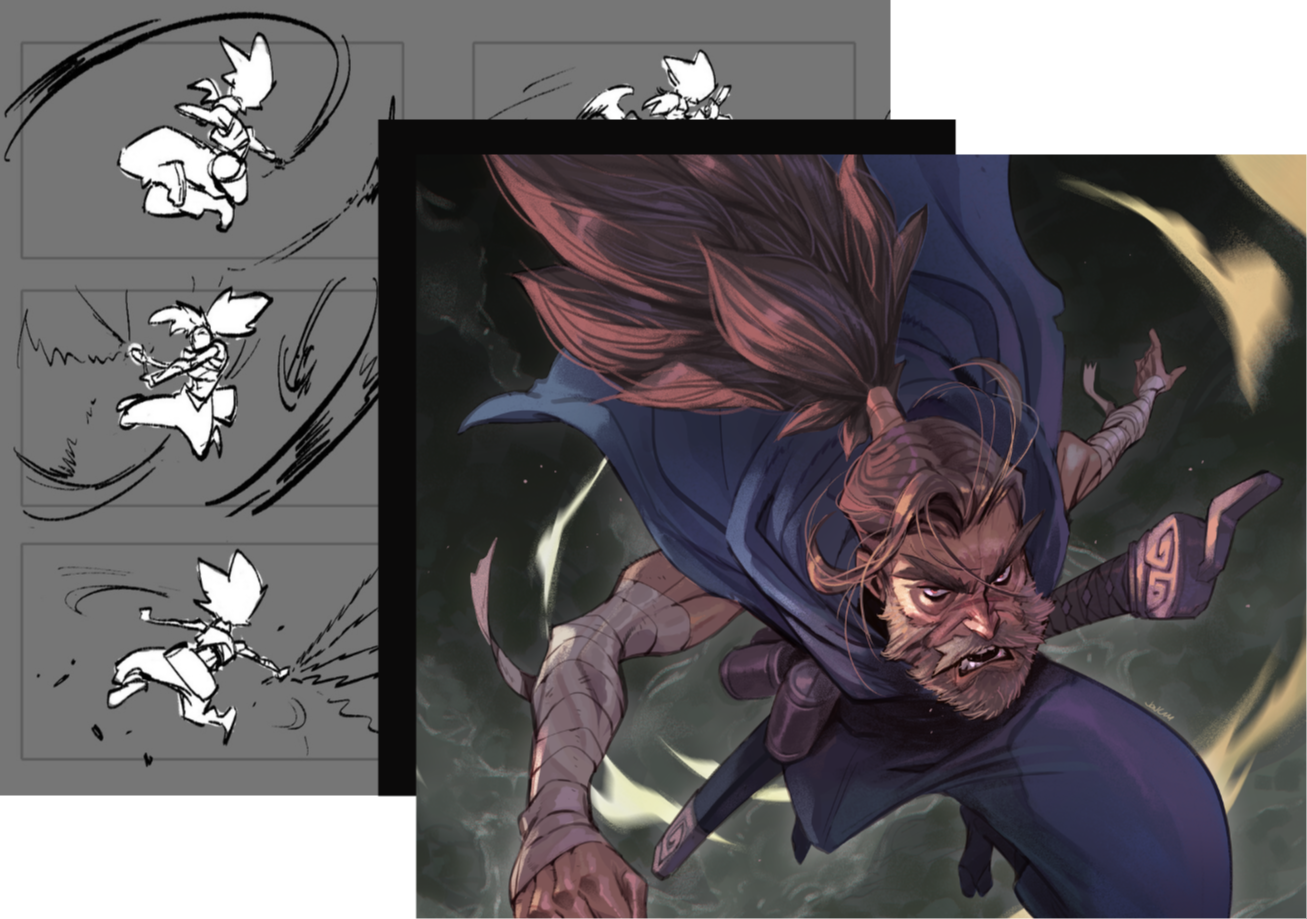
Master the animation storyboarding workflow: from visual storytelling, simplified drawing, and perspective to script breakdowns, thumbnailing, Blender staging, and polished animatics.

Video Poster Image
START NOW

Great storyboarding it’s all about clear visual storytelling

In The Art of Storytelling: From Sketch to Scene, you’ll learn to transform scripts into compelling scenes through simplified drawing, perspective, thumbnailing, staging, Blender, and animatics.

Bring your ideas to life, one frame at a time.

ABOUT ME

I'm Jon, a visual storyboard artist based in Vancouver, Canada. You may know my work from projects such as Gorillaz (The Mountain, The Moon Cave, And the Sad God, Invincible), X-Men ’97, VALORANT, Diablo, Overwatch, 2XKO, Magic: The Gathering, and many more.

In this course, we’re going to explore the fundamental skills you need to create strong and effective storyboards. We’ll cover everything from perspective and anatomy to film language, script breakdowns, and using Blender as a tool for your workflow.

You’ll learn how to take an idea from the script, translate it into clear visual storytelling, and build your storyboards into full animatics that communicate movement, timing, and emotion.

JOIN NOW

Great storyboarding it’s all about clear visual storytelling

In The Art of Storytelling: From Sketch to Scene, you’ll learn to transform scripts into compelling scenes through simplified drawing, perspective, thumbnailing, staging, Blender, and animatics.

Bring your ideas to life, one frame at a time.

What you'll unlock with this course

Course content

Video Poster Image

This course includes 8 modules, packed with over X video lessons that blend hand-building and sculptural personality.

Work through them at your own pace, step by step. Each lesson builds your confidence and skills naturally. Pause, replay, or revisit anytime. Take the space you need to practice, absorb, and grow.

Perfect for beginners or those returning to clay, this course is here to support your pottery journey.

JOIN NOW
1

Getting Grounded

Modules 1–2
Module 1

Introduction

Let's start from the very beginning: how I found clay, why I create, and everything you'll need to get your space ready.

6 lessons
See what's inside +
  • 1Introduction — what to expect to take away from this course
  • 2My journey in ceramics
  • 3Why should you create?
  • 4Materials you need for this course
  • 5Setting up your space
  • 6Clay safety
Module 2

Clay Basics

The building blocks! We'll talk clay bodies, firing temps, and how to pick the right kiln access for you.

4 lessons
See what's inside +
  • 1Types of clay bodies: earthenware vs. mid-fire vs. high-fire, and the difference between cone 06 and cone 6
  • 2How to find a clay body for your work (what to consider when buying clay)
  • 3Stages of clay
  • 4Kiln access in depth: home kiln vs. community studio vs. kiln share
2

Meet the Wheel

Modules 3–4
Module 3

Wheel Throwing 101

Time to get your hands dirty (literally), with wedging, centering, opening, and pulling up walls on the wheel.

9 lessons
See what's inside +
  • 1Module intro, covering wheel throwing: wedging, opening, pulling
  • 2Just make it exist first, we can make it better later (examples of early work and progression)
  • 3What is wedging? Ram's head vs. spiral vs. slam
  • 4Quick tips on centering
  • 5Opening up clay tips
  • 6Tips on pulling up walls
  • 7Taking a piece off the wheel
  • 8Exercise: experiment with forms on the wheel (4 forms)
  • 9Tools I like to use for throwing and trimming
Module 4

Playing With Our Thrown Forms

Once you've thrown a form, the fun really begins. Let's alter, attach, and make it uniquely yours.

6 lessons
See what's inside +
  • 1Module intro: altering, stages of clay dryness, attaching, and drying advice
  • 2Don't be afraid to alter forms (examples from my work)
  • 3Tools you will need to alter forms + demo
  • 4Demo, step by step: making a hedgehog bowl
  • 5Mistakes to avoid when altering
  • 6Drying your piece
3

Bring Your Pet to Life

Modules 5–6
Module 5 · Project 1

Making a Mug of Your Pet

Our first project together: sketching and sculpting a mug that captures your pet's personality, start to finish.

8 lessons
See what's inside +
  • 1Project intro: what we'll cover, what we'll make, tips & tricks
  • 2Sketching: translating your pet's unique features into a mug, from shape to features to glaze design
  • 3Throwing demo: bubble-shape base for the mug (full walkthrough)
  • 4Demo: altering the base
  • 5Demo: sculpting the parts (cat)
  • 6Demo: sculpting the parts (dog)
  • 7Demo: attaching parts
  • 8Demo: pulling handles + other options
Module 6 · Project 2

Yarn Bowl

Let's throw and sculpt a cozy yarn bowl, complete with all the little details that make it feel like your pet.

7 lessons
See what's inside +
  • 1Project intro: what we'll cover, what we'll make, tips & tricks
  • 2Sketching: translating an animal's unique features into a bowl, from shape to features to glaze design
  • 3Throwing demo: the form on the wheel for the bowl
  • 4Demo: altering the bowl shape
  • 5Demo: making each attachment
  • 6Demo: cutting for the yarn bowl
  • 7Attaching all the sculpted features + drying
4

Finishing Touches

Modules 7–8
Module 7 · Project 3

Brush Holder

Time for a brush holder with extra character. We'll even add fun little costume details.

5 lessons
See what's inside +
  • 1Project intro: what we'll cover, what we'll make, tips & tricks (including how to add fun costume details)
  • 2Sketching: translating your pet's unique features into a vessel, from shape to features to glaze design
  • 3Throwing demo: the form on the wheel for the vessel/brush holder
  • 4Demo: sculpting the pet mug — cat features
  • 5Demo: attaching features
Module 8

Glazing

Now for the magic: my glazing method, testing tips, and how I built my signature palette.

8 lessons
See what's inside +
  • 1Module outline: glazing basics, my glazing method, glaze testing, my palette
  • 2What is glaze? Mid-fire glaze, glaze vs. underglaze, overglaze
  • 3My glazing method overview: what makes it different, pros and cons
  • 4Setting yourself up for success with glaze testing
  • 5Demo: prepping bisque ware for glaze, referencing the sketch
  • 6Demo: glazing method on a tortie cat
  • 7Demo: glazing method on an orange cat
  • 8Glaze testing and how I made my palette

Find out more about what you'll get with the course!

Video Poster Image

This course is your hands-on guide to wheel-throwing pottery, designed to help you build confidence and skill from the very first spin.

Each lesson is recorded in clear HD, so you can pause, replay, or slow down anytime. Learn at your own pace, with plenty of practice time between sessions.

I’ll walk you through step-by-step demos, share helpful tips, and guide you through projects that make learning fun. You’ll get plenty of hands-on practice to master the wheel, clay, and glazing.

Starting with the basics of clay preparation and wheel techniques, this course grows with you. Review the lessons as often as you need, wherever and whenever it suits you.

SIGN UP NOW

Included in my course fees:

Clay basics & tools

Get to know the clay, tools, and simple techniques you’ll use throughout the course. I’ll guide you step-by-step so you can dive in with confidence and curiosity.

Hands-on Projects

Try out fun, guided projects that encourage you to experiment and discover your own style. Build your skills and creative voice as you go.

Lifetime Access

 Once you join, the course is yours forever. Come back anytime to revisit lessons, refresh your inspiration, and keep creating at your own pace.

Learn your way

All lessons are online and ready whenever you are. Pause, replay, or explore again whenever you want as you grow your pottery practice.

Creative Community

 Join a friendly group of fellow makers who share your curiosity and love for creating. Swap ideas, ask questions, and find support along the way.

My dedicated support

You will never alone on this journey, I’m here to cheer you on, answer your questions, and help you feel confident as you improve while bring your ideas to life.

... and more!

JOIN NOW

Bonuses:

Extra contents that you will get for free with the course

Module 9: Trimming Tips & Test Tiles

Learn essential trimming techniques and how to make test tiles to refine your glazes and firing results. Plus, get practical questions to ask when renting a kiln or joining a community studio.

$X - FREE!

REGISTRATIONS ARE CLOSING SOON!

00

DAYS

00

HOURS

00

MINS

00

SECS

 Two options to achieve your goals:  

 Here you will find two options that differ only in how you prefer to pay! The first option is a one-time payment and the second is a monthly option with three monthly payments. The price displayed below is in US dollars, but you can pay with ANY currency.

In both cases, you will have immediate access to the course!

Master expressive ceramics once and for all!

One-Time Payment

$297

  • 8 modules
  • X+ video lessons
  • X+ hours of content
  • Access to a private online community
  • Dedicated Support throughout your journey
  • Access on any device 
  • Lifetime Access
  • Certificate of Completion
  • 14-Day money-back guarantee
  • Bonus: Module 9 - Trimming tips & Test Tiles ($X) FREE!
Total Value:$344
Special Price:
$297 Save $47
START NOW

Four Monthly Payments

$87

  • 8 modules
  • x+ video lessons
  • X+ hours of content
  • Access to a private online community
  • Dedicated Support throughout your journey
  • Access on any device
  • Lifetime Access
  • Certificate of Completion
  • 14-Day money-back guarantee
  • Bonus: Module 9 - Trimming tips & Test Tiles ($X) FREE!
Total Value:$344
Special Price:
$87 Monthly
START NOW

My Guarantee to Every Student

If you are not satisfied with the courses for any reason, you have the right to obtain a full refund within the first 14 days. This is my guarantee to you, I want all my students to be satisfied. Also, this means that there is no risk at all! Give it a try and experience the program first-hand!

Frequently Asked Questions

START NOW