SPECIAL INSTALLMENTS OFFER
00
DAYS
00
HOURS
00
MINS
00
SECS
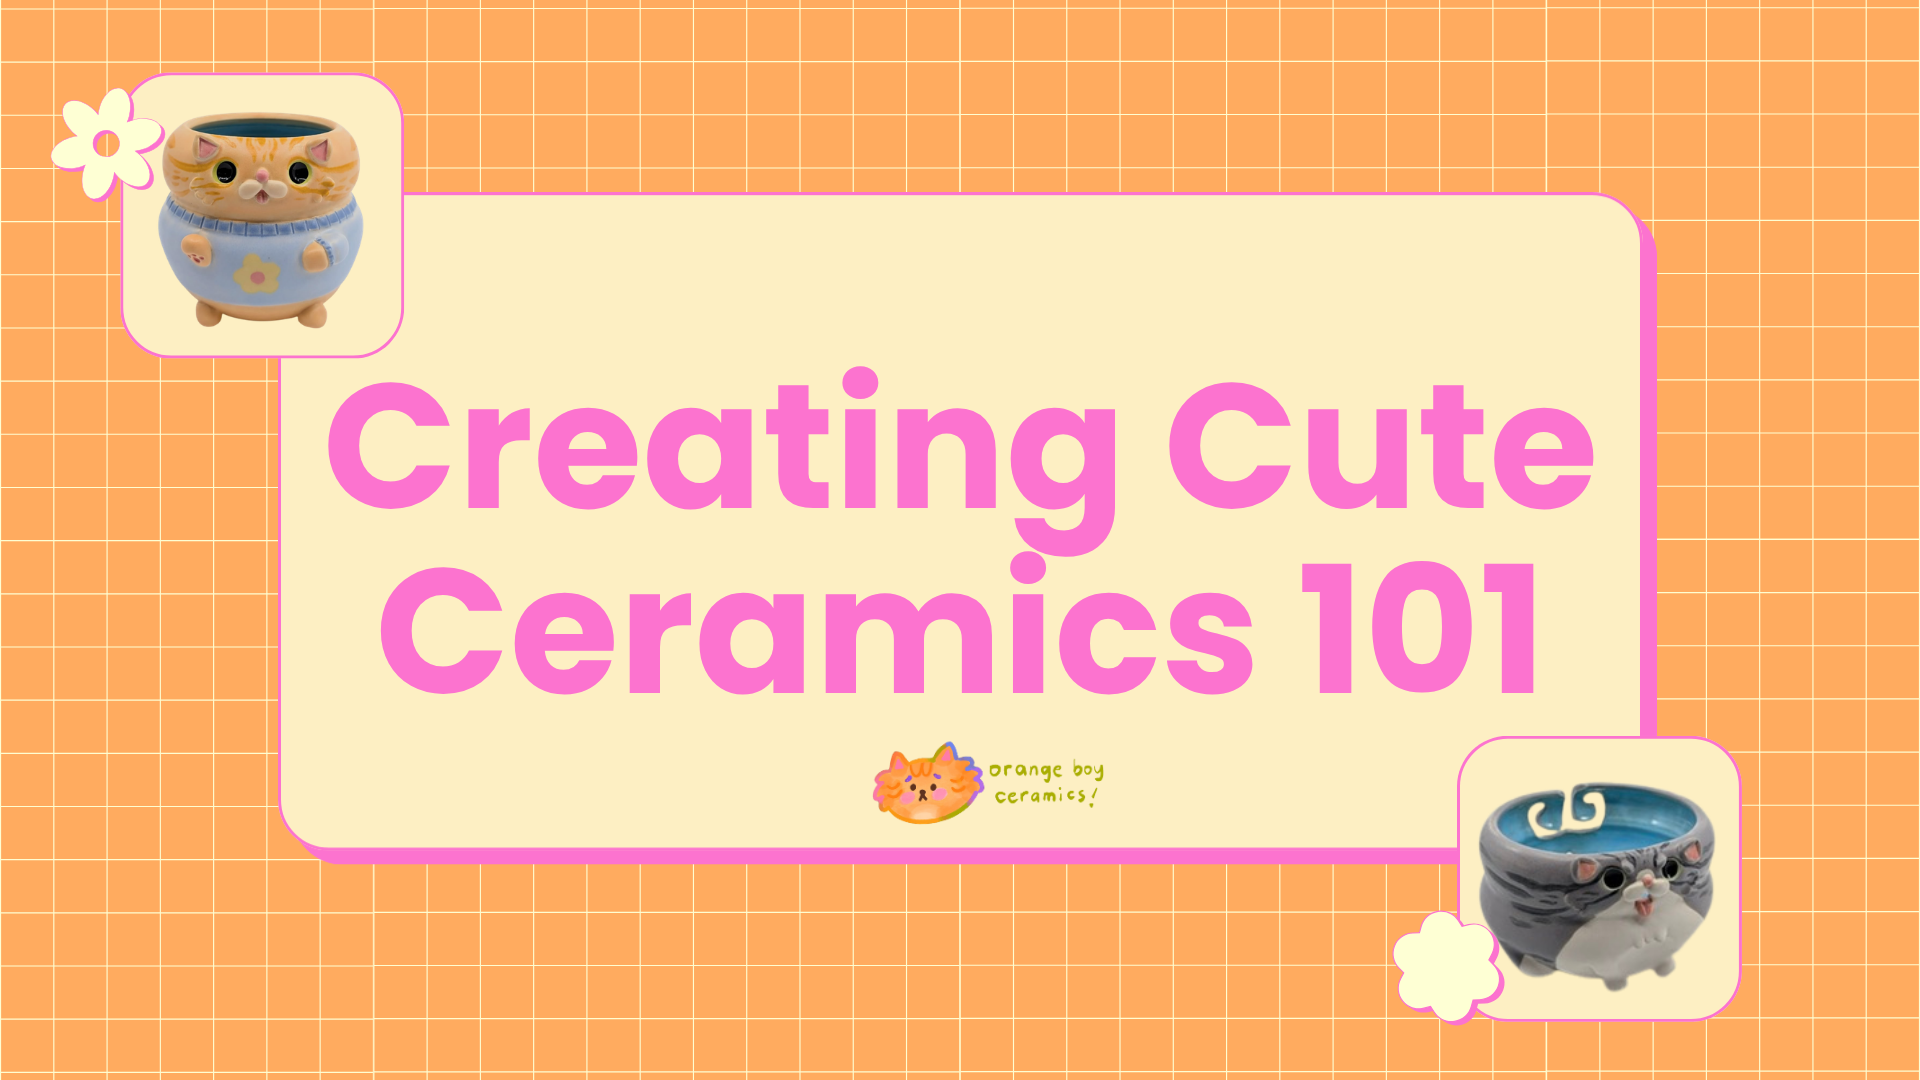
Creating Cute Ceramics 101
A beginner's guide to hand-building pottery that feels like you: X+ cozy video lessons and X+ hours of friendly, step-by-step guidance.
Creativity isn't just for the "naturally gifted."
It's for anyone who's curious and ready to mold clay.
Maybe you've watched others throw beautiful mugs and bowls and thought, "Am I good enough for this?" Here's a secret: pottery isn't about being perfect from the start. It's about curiosity, and being willing to make a few "wobbly pots" along the way.
You don't need special talent to join this adventure. Whether you're centering your first ball of clay or sculpting your pet's face onto a mug, all you need is curiosity and a little trust in the process.
In Creating Cute Ceramics 101, I'll be your guide. I'm breaking wheel-throwing pottery down into the basics, helping you build pieces with personality, your pet's personality, while picking up real ceramic skills along the way.
This is your invitation to start, enjoy the moment, and discover the joy of making something with your own hands. Let's start your ceramics journey together, one thrown form at a time.
Wheel-Throwing pottery with personality: A skill anyone can learn
Do the quirky, expressive faces clay can take inspire you? Do you love the idea of creating with your hands but aren't sure where to start?
Pottery is a skill anyone can learn. I designed this course for clay lovers of every level, from complete beginners to those who've tried before but want to add more character to their work.
You'll learn everything from centering and throwing your first form on the wheel to sculpting it into your own pet's mug, yarn bowl, and brush holder, all the way through to the finish line: glazing.
Let's unlock your creative potential together!
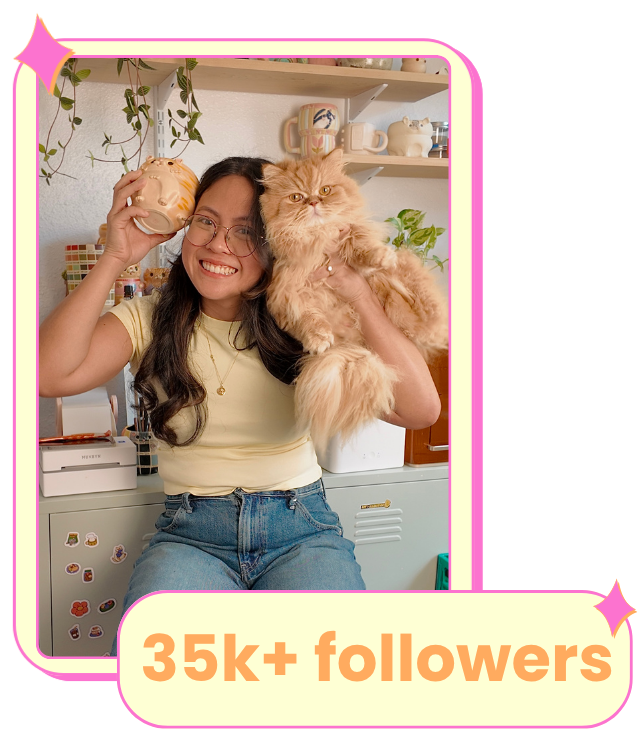
Hi, my name is Aya!
I'm a ceramic artist based in Florida, and a one-person team working out of my tiny home studio. My work is a celebration of the pets who make our lives a little more chaotic and a lot more loved, the personalities, the quirks, the faces we know by heart.
My journey into clay started during a period of intense burnout while working as a critical care nurse through the pandemic. I was desperately looking for a creative outlet to decompress on my days off, and clay quieted my mind in a way nothing else did. What keeps me coming back, though, isn't the quiet: it's the joy of seeing my cats' likenesses show up in pieces I actually use every day.
Today, my studio has two very opinionated muses: Pip and Louis, who inspire almost everything I make.
My course, Creating Cute Ceramics 101, is a beginner-friendly guide to wheel-throwing where I'll walk you through everything you need to know to start your own clay journey, and hopefully, immortalize a pet or two of your own along the way.
JOIN NOWWhat you'll unlock through the course
Throw with Confidence
Learn the wheel from the ground up: Wedging, centering, opening, and pulling even walls. A hands-on throwing exercise builds real muscle memory before you ever start a project.
Sculpt Your Pet's Personality
Sketch your pet's unique features, then sculpt and attach them onto a thrown mug, bowl, or vessel; until the piece actually looks like them, not just "a cat-shaped mug".
Glaze It Like You Meant To
Learn how I test glazes and build my own palette, then follow along as I glaze real pieces (starring my actual cats); so your final piece turns out how you pictured it.
In my course you will learn:
Getting Grounded
Modules 1–2Introduction
Let's start from the very beginning: how I found clay, why I create, and everything you'll need to get your space ready.
See what's inside
- 1Introduction — what to expect to take away from this course
- 2My journey in ceramics
- 3Why should you create?
- 4Materials you need for this course
- 5Setting up your space
- 6Clay safety
Clay Basics
The building blocks! We'll talk clay bodies, firing temps, and how to pick the right kiln access for you.
See what's inside
- 1Types of clay bodies: earthenware vs. mid-fire vs. high-fire, and the difference between cone 06 and cone 6
- 2How to find a clay body for your work (what to consider when buying clay)
- 3Stages of clay
- 4Kiln access in depth: home kiln vs. community studio vs. kiln share
Meet the Wheel
Modules 3–4Wheel Throwing 101
Time to get your hands dirty (literally), with wedging, centering, opening, and pulling up walls on the wheel.
See what's inside
- 1Module intro, covering wheel throwing: wedging, opening, pulling
- 2Just make it exist first, we can make it better later (examples of early work and progression)
- 3What is wedging? Ram's head vs. spiral vs. slam
- 4Quick tips on centering
- 5Opening up clay tips
- 6Tips on pulling up walls
- 7Taking a piece off the wheel
- 8Exercise: experiment with forms on the wheel (4 forms)
- 9Tools I like to use for throwing and trimming
Playing With Our Thrown Forms
Once you've thrown a form, the fun really begins. Let's alter, attach, and make it uniquely yours.
See what's inside
- 1Module intro: altering, stages of clay dryness, attaching, and drying advice
- 2Don't be afraid to alter forms (examples from my work)
- 3Tools you will need to alter forms + demo
- 4Demo, step by step: making a hedgehog bowl
- 5Mistakes to avoid when altering
- 6Drying your piece
Bring Your Pet to Life
Modules 5–6Making a Mug of Your Pet
Our first project together: sketching and sculpting a mug that captures your pet's personality, start to finish.
See what's inside
- 1Project intro: what we'll cover, what we'll make, tips & tricks
- 2Sketching: translating your pet's unique features into a mug, from shape to features to glaze design
- 3Throwing demo: bubble-shape base for the mug (full walkthrough)
- 4Demo: altering the base
- 5Demo: sculpting the parts (cat)
- 6Demo: sculpting the parts (dog)
- 7Demo: attaching parts
- 8Demo: pulling handles + other options
Yarn Bowl
Let's throw and sculpt a cozy yarn bowl, complete with all the little details that make it feel like your pet.
See what's inside
- 1Project intro: what we'll cover, what we'll make, tips & tricks
- 2Sketching: translating an animal's unique features into a bowl, from shape to features to glaze design
- 3Throwing demo: the form on the wheel for the bowl
- 4Demo: altering the bowl shape
- 5Demo: making each attachment
- 6Demo: cutting for the yarn bowl
- 7Attaching all the sculpted features + drying
Finishing Touches
Modules 7–8Brush Holder
Time for a brush holder with extra character. We'll even add fun little costume details.
See what's inside
- 1Project intro: what we'll cover, what we'll make, tips & tricks (including how to add fun costume details)
- 2Sketching: translating your pet's unique features into a vessel, from shape to features to glaze design
- 3Throwing demo: the form on the wheel for the vessel/brush holder
- 4Demo: sculpting the pet mug — cat features
- 5Demo: attaching features
Glazing
Now for the magic: my glazing method, testing tips, and how I built my signature palette.
See what's inside
- 1Module outline: glazing basics, my glazing method, glaze testing, my palette
- 2What is glaze? Mid-fire glaze, glaze vs. underglaze, overglaze
- 3My glazing method overview: what makes it different, pros and cons
- 4Setting yourself up for success with glaze testing
- 5Demo: prepping bisque ware for glaze, referencing the sketch
- 6Demo: glazing method on a tortie cat
- 7Demo: glazing method on an orange cat
- 8Glaze testing and how I made my palette
Find out more about what you'll get with the course!
This course is your hands-on guide to wheel-throwing pottery, designed to help you build confidence and skill from the very first spin.
Each lesson is recorded in clear HD, so you can pause, replay, or slow down anytime. Learn at your own pace, with plenty of practice time between sessions.
I’ll walk you through step-by-step demos, share helpful tips, and guide you through projects that make learning fun. You’ll get plenty of hands-on practice to master the wheel, clay, and glazing.
Starting with the basics of clay preparation and wheel techniques, this course grows with you. Review the lessons as often as you need, wherever and whenever it suits you.
SIGN UP NOWIncluded in my course fees:

Clay basics & tools
Get to know the clay, tools, and simple techniques you’ll use throughout the course. I’ll guide you step-by-step so you can dive in with confidence and curiosity.

Hands-on Projects
Try out fun, guided projects that encourage you to experiment and discover your own style. Build your skills and creative voice as you go.

Lifetime Access
Once you join, the course is yours forever. Come back anytime to revisit lessons, refresh your inspiration, and keep creating at your own pace.
Learn your way
All lessons are online and ready whenever you are. Pause, replay, or explore again whenever you want as you grow your pottery practice.

Creative Community
Join a friendly group of fellow makers who share your curiosity and love for creating. Swap ideas, ask questions, and find support along the way.
My dedicated support
... and more!
JOIN NOWBonuses:
Extra contents that you will get for free with the course
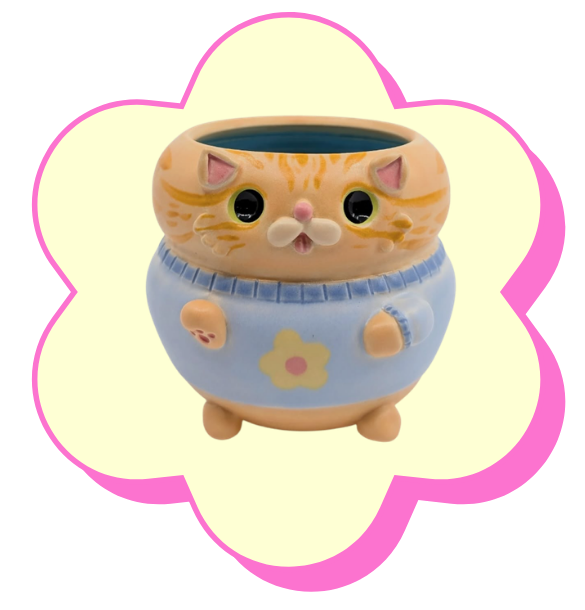
Module 9: Trimming Tips & Test Tiles
$X - FREE!
REGISTRATIONS ARE CLOSING SOON!
00
DAYS
00
HOURS
00
MINS
00
SECS
Special Offer - Monthly Payments
If you want to join now and split the cost of the course, you can join through six monthly payments.
The course content is exactly the same, this simply allows you to spread the investment over time in a way that feels more comfortable for you.
The price displayed below is in US Dollars, but you can pay with ANY currency

My Guarantee to Every Student
If you are not satisfied with the courses for any reason, you have the right to obtain a full refund within the first 14 days. This is my guarantee to you, I want all my students to be satisfied. Also, this means that there is no risk at all! Give it a try and experience the program first-hand!